With 2024/2025 being a solar maximum, seeing the Northern Lights is more plausible than ever. Yet, capturing its beauty on camera is something many do not know exactly how to do. This article will tell you the best tips and tricks I’ve learnt for photographing the Northern Lights from your iphone (no fancy camera needed).
Table of Contents
What are the northern lights?
The Northern Lights, also known as the Aurora Borealis, are a phenomenon that occur when charged particles from the sun (solar winds) interact with Earth’s atmosphere, creating streams of light along the polar regions of the World. The Northern Lights also occur in the South Pole (called the Southern Lights), due to the polarisation of the Earth’s magnetic field. Though the most common colour associated with the Northern Lights is green, the lights can be any colour from yellow, to blue to red, depending on which element in the Earth’s atmosphere is interacting with the sun’s solar winds.

When and where are they visible?
The Northern Lights are visible in polar regions (far North and far South). They can only be seen when the sky is dark, and thus more often associated with Winter, when nights are long and skies dark.
Step-by-step guide: photographing the northern lights on your iphone
Step 1: Find the northern lights
Downloading a northern lights alert app can help you identify when the northern lights are active and when it’s worth heading outside to go aurora hunting. I use AuroraWatch and Aurora in the UK. If the northern lights are active enough, but you cannot see anything with your naked eye, try just holding your iphone camera up to the sky to see if anything is visible.

Note: if the northern lights are not very active or you are slightly further South e.g. Edinburgh, the northern lights might look like wisps of grey cloud to the naked eye (so look out for that!)
Step 2: Mount your phone to a tripod
The best pictures of the northern lights are taken when your iphone camera is still, allowing for greater focus. Mounting it on a tripod, or simply even holding it on a surface to minimise any movement can help ensure the image you are capturing is focused, clear, and magical.
Step 3: Open the camera app and turn it to night mode


Turning your camera settings to night mode (and adjusting the shutter speed) helps light come through the camera more easily, illuminating the dark sky, and ensuring your pictures of the northern lights come out clearer and more vibrantly. This might happen automatically.
Playing with the shutter speed manually can also help with this. I tend to find shutter speeds between 3 – 10 seconds best.
Note: Make sure your shutter speed is not too long, however, as the northern lights are a moving phenomenon, and if the shutter is too slow, your picture of the lights may come out blurry.
Step 4: Find the frame you want, click the screen to focus on it, and adjust exposure


Focusing on a subject is not necessary but I find it helps filter light through the camera better at the point of emphasis, and therefore, allows you to capture a sharper image. Try focusing on a section of the lights and see what results you get.
Adjusting exposure or down can also help light through the camera lens. This is done by sliding your finger up/down on your phone screen at the point of the focused subject.
Step 5: Take your photo
You are ready to take your photo, it is really that simple. Adjust your settings if and when needed, and enjoy!
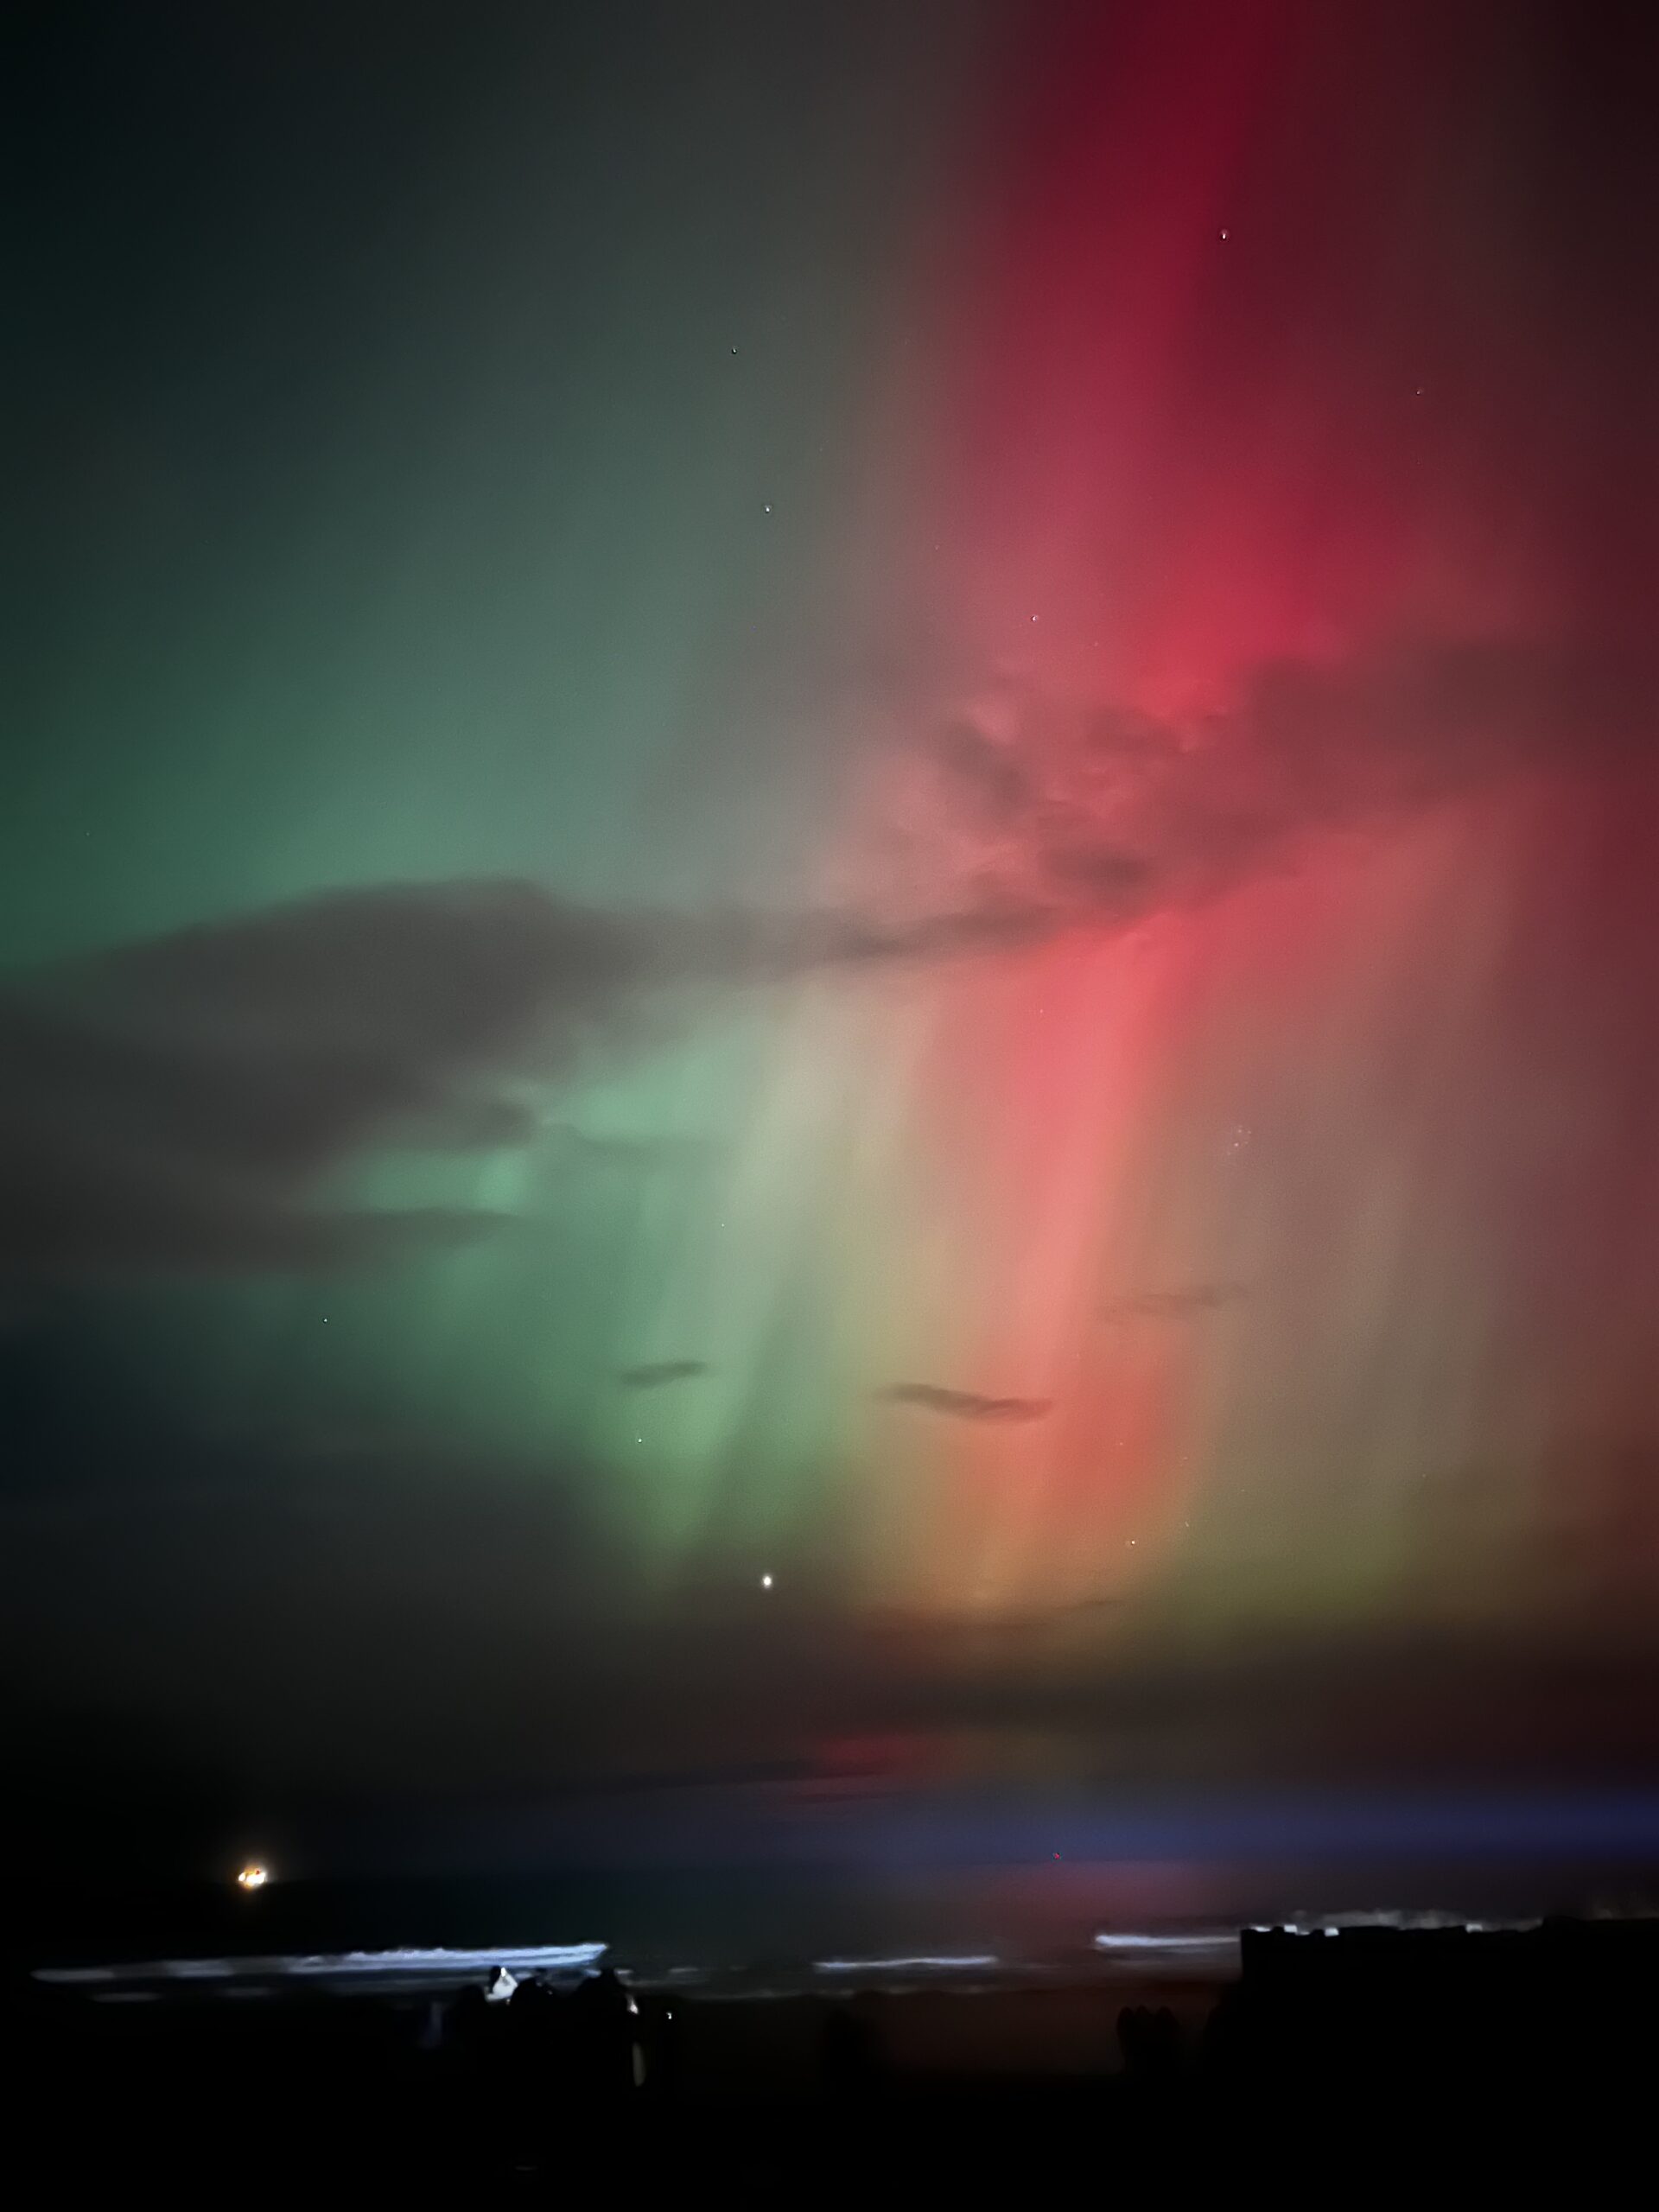
Examples (shot in Fife, Scotland):